
how to install handlebar extender on bike usually comes down to three things people underestimate: clamp fit, torque, and cable clearance.
If your extender keeps rotating, blocks your shifters, or makes your brake hoses rub, it’s not “just how extenders are.” In most cases, it’s a sizing or install detail that’s easy to miss when you’re doing it at home with basic tools.
This guide walks you through choosing the right spot, installing it step by step, and dialing in a setup that stays put on real rides, not only in the garage.
Before you start: what a handlebar extender can (and can’t) fix
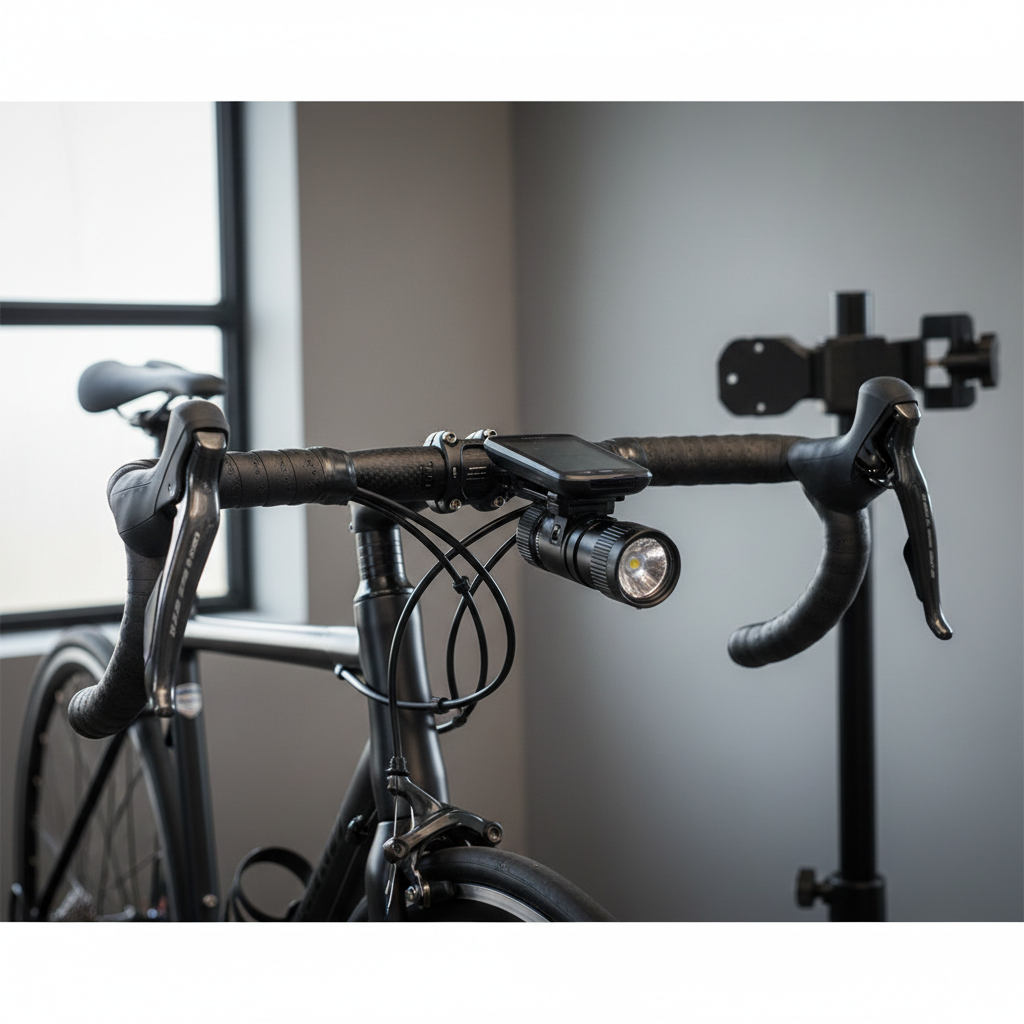
A handlebar extender gives you extra real estate for a light, phone mount, GPS, action camera, or bell. It won’t magically solve a cramped cockpit if your bar is already overloaded with oversized mounts, and it won’t compensate for a loose stem or worn grips.
Most extenders work best when you treat them like any other clamped component: correct diameter, clean contact surfaces, and correct tightening force. According to Park Tool, using a torque wrench on bicycle fasteners helps avoid both under-tightening (parts slipping) and over-tightening (damaging components).
Quick reality check: if you run very light carbon bars or have internally routed hoses packed tightly at the bar, you may need extra caution and sometimes a shop’s help to avoid crushing or pinching.
Tools and parts checklist (what you actually need)
You can install most extenders in 10–20 minutes with common bike tools. The time sink is usually positioning and cable clearance, not the clamp itself.
- Allen keys (commonly 4mm and 5mm, sometimes 3mm)
- Torque wrench with hex bits (strongly recommended)
- Isopropyl alcohol and a clean rag (for degreasing contact points)
- Carbon assembly paste (only if you have carbon bars and the extender maker allows it)
- Small ruler or tape (optional, for centering and symmetry)
Skip these unless the extender manual asks: grease on clamp surfaces (often increases slipping), threadlocker (can complicate torque accuracy), and random rubber shims (only use the correct shim size supplied by the extender brand).
Fit matters: choosing the right diameter and clamp style
Plenty of “extender slipping” complaints trace back to mismatch between bar diameter and the extender clamp. Some kits include shims, some don’t, and some shims fit poorly.
Common handlebar diameters (typical, not universal)
Most modern bikes use 31.8mm bars at the clamp area, while some use 25.4mm. Many flat bars are 31.8mm at center and taper down toward the grips, which is why placement matters.
| Where you clamp | What usually works best | What tends to go wrong |
|---|---|---|
| Near stem clamp area | Most stable, consistent diameter | May crowd computer mount or top-cap area |
| On tapered section | Only if extender is designed for taper + correct shim | Slipping/rotation, uneven clamp pressure |
| On aero/flattened tops | Extender made for aero bars | Poor contact, hard to torque safely |
Rule of thumb: clamp as close to the stem as practical unless your cables or mounts force a different spot.
Step-by-step: how to install a handlebar extender on a bike
When people search how to install handlebar extender on bike, they often want “tighten the bolts and go.” The better approach is: prep, position, torque, then test under load.
1) Plan placement and check cable clearance
Before loosening anything, hold the extender where you think it should go and turn the bars fully left and right. Watch the brake hoses and shift housing.
- Make sure nothing pulls tight at full steering lock
- Avoid pressing the extender into housing, it can create friction and messy shifting
- Leave space to operate shifters comfortably, especially on flat bars
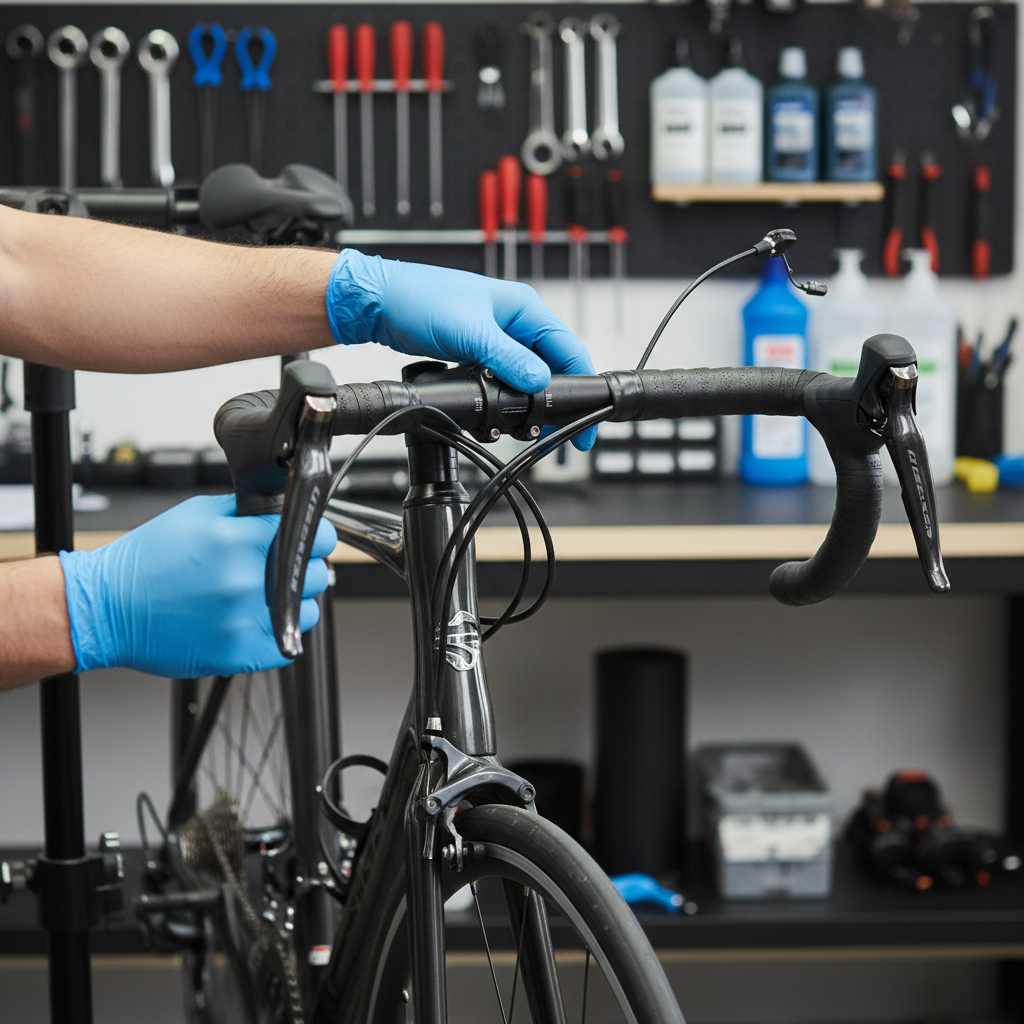
2) Clean the clamp area
Wipe the bar where the extender clamps. Sweat, sunscreen, and old adhesive from mounts can reduce friction. Alcohol on a rag usually does the job.
If your bar is carbon, check the bar maker’s guidance. Many carbon cockpits allow carbon assembly paste on clamping zones, but you don’t want paste on parts that shouldn’t move or on painted graphics that can stain.
3) Install the clamp loosely, then align
Open the clamp, set it on the bar, and thread the bolts in by hand. Keep the clamp just tight enough that it doesn’t flop around, then rotate and slide into position.
- Center the extender if it’s a “bridge” style that sits in front of the stem
- Set the accessory bar angle so mounts sit level on the road
- Confirm it doesn’t hit the stem faceplate or top cap
Tip: if your extender has two clamp bolts, bring them up evenly so the clamp gap stays similar on both sides, that helps prevent uneven pressure.
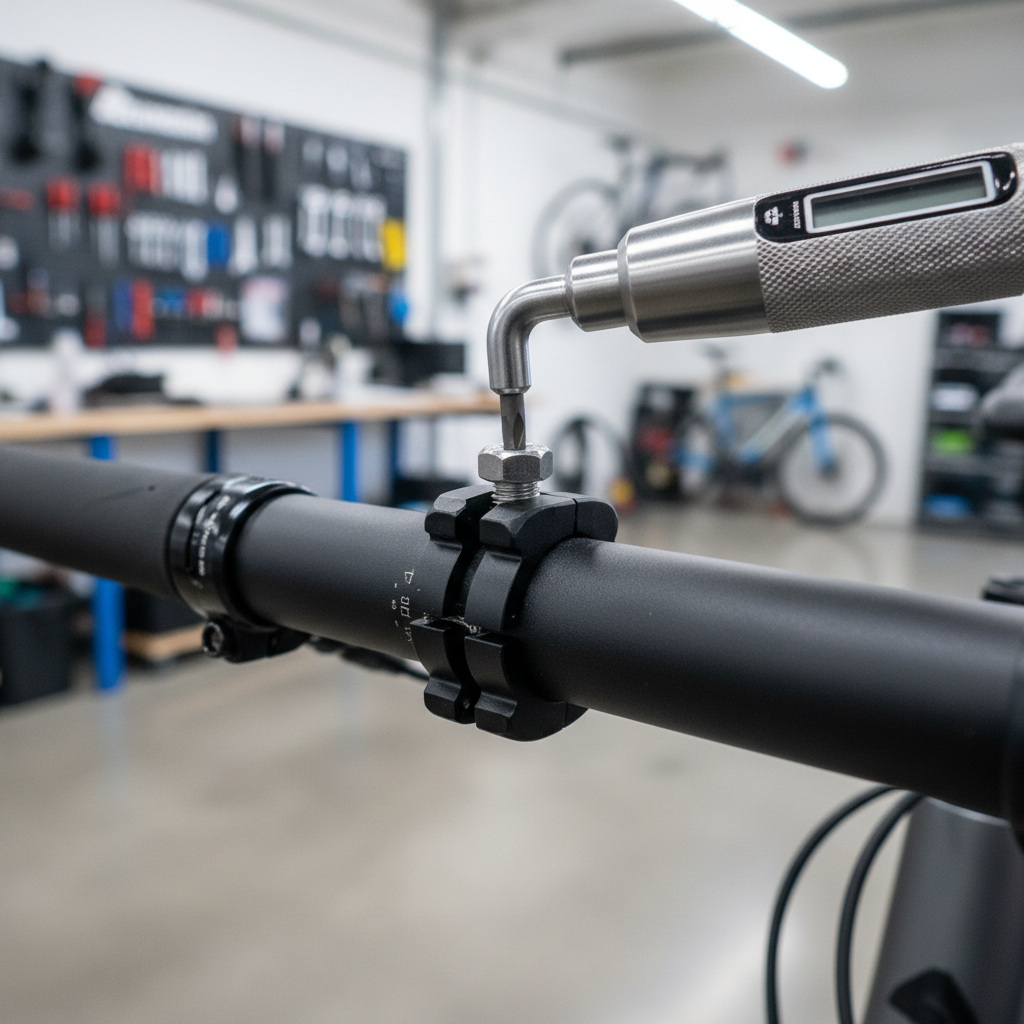
4) Tighten to the manufacturer’s torque spec
This is where most installs go off the rails. Too loose and the extender rotates when you hit a pothole. Too tight and you risk crushing lightweight bars, especially carbon.
Use the extender’s printed torque spec if available. If it’s missing, don’t guess aggressively, look up the brand’s manual or contact support. According to Shimano, many bicycle components require tightening to specified torque values to ensure safe assembly and prevent damage.
- Snug bolts gradually, alternating between them
- Stop at the stated torque, not “one more crank for luck”
- After torque, re-check alignment since parts can shift slightly
5) Mount accessories and do a steering + shake test
Add your light/computer/phone mount and repeat the full left-right steering test. Then do a “shake test”: hold the front wheel between your knees and try to twist the extender by hand.
If it moves with moderate force, it will probably move on rough pavement. If it only moves when you’re really muscling it, you’re usually in a good place.
Self-check: diagnose slipping, crooked mounts, and rattles fast
If your install doesn’t feel right, you can usually narrow it down in a minute.
- Extender rotates downward: clamp torque too low, clamp on a tapered section, or slick surface contamination
- Extender tilts left/right: uneven bolt tightening, clamp not centered, or shim not seated
- Accessories bounce: extender bar is too long for heavy items, mounts not tight, or accessory clamp mismatched
- Noise over bumps: bolts slightly under-torqued, accessory mount loose, or metal-on-metal contact without a proper interface
- Cables rub or shifting feels worse: placement forces housing into tight bends or pinches hoses at full lock
Practical setup tips for different bike styles
The “best” placement depends on how you ride and what you’re mounting. A commuter wants easy access, a road rider often wants a clean sightline, and a gravel rider cares about stability on chatter.
Road bikes (drop bars)
- Mount near the stem on the tops for stability
- Keep the extender low enough to avoid blocking your computer screen
- Be careful with aero-shaped tops, use an extender designed for that shape
Mountain bikes (flat bars)
- Leave room for dropper lever, shifter paddles, and brake levers
- Prioritize cable freedom at full lock, MTB routing can be tighter
- Don’t overload the extender with heavy phone setups if you ride rough trails
Gravel / bikepacking
- Consider two shorter extenders rather than one long bar if you need redundancy
- Place lights so they don’t shadow your front tire too much
- Re-check torque after the first bumpy ride, things can settle
Common mistakes (the stuff that wastes your Saturday)
If you want a stable result, avoid the “tighten harder” spiral. That can hide the real problem and create a new one.
- Clamping on tape: bar tape compresses and the extender loosens later
- Using the wrong shim: close enough rarely is close enough in clamping
- Ignoring bolt pattern: uneven bolt tension makes the clamp walk
- Overloading with heavy accessories: big phones + big cases + long extenders equals leverage
- Blocking safety-critical controls: if your thumb can’t reach a shifter cleanly, it’s not “minor”
Key point: if something slips, fix the contact and fit first, then revisit torque. More torque is not always the right fix.
When to get help from a bike shop (it’s not a defeat)
There are a few scenarios where a shop visit can be the safer, cheaper move long term.
- You have carbon handlebars and no torque wrench, especially with small clamp zones
- Your cockpit has integrated bars/stem or internal routing that leaves little slack
- You see cracks, creaking, or crushed marks near the clamp area
- After installing, your braking or shifting feels inconsistent and you can’t trace why
If you’re unsure about torque specs or compatibility, asking a mechanic for a quick check often costs less than replacing a damaged handlebar.
Conclusion: a clean install is mostly prep + correct torque
how to install handlebar extender on bike isn’t complicated, but it rewards patience: clamp it on a consistent diameter, keep the surfaces clean, and tighten to spec, then test steering and stability before your first real ride.
If you want one action to take today, do this: re-check cable clearance at full lock after mounting your accessories. That’s the quiet source of a lot of “everything felt fine in the driveway” problems.
Once it’s set up right, an extender is one of the simplest upgrades for a less cluttered cockpit and easier access to the gear you actually use.