
how to attach a bike basket securely comes down to three things: the right basket mount for your bike, hardware tightened in the right order, and a quick safety check so nothing rattles, rubs, or shifts under load.
If your basket wobbles, tilts, or starts kissing the front tire, it is not just annoying, it can change steering feel and, in some cases, create a safety issue when you hit a pothole or brake hard. The good news is most “unstable basket” problems come from a handful of predictable mismatches or skipped steps.
In this guide, you will figure out which mounting style fits your frame and fork, run through a quick self-check, then follow practical steps for front and rear baskets. I will also call out the small mistakes that quietly cause most loose baskets.
Pick the right basket type for your bike (this solves half the problem)
Before you touch a wrench, confirm the basket style matches your bike’s attachment points and how you ride. Many “my basket won’t stay tight” stories are really “my basket is meant for a different setup.”
Common basket mounting styles
- Handlebar-mounted: clamps to the bar or stem, quick to install, but weight affects steering more.
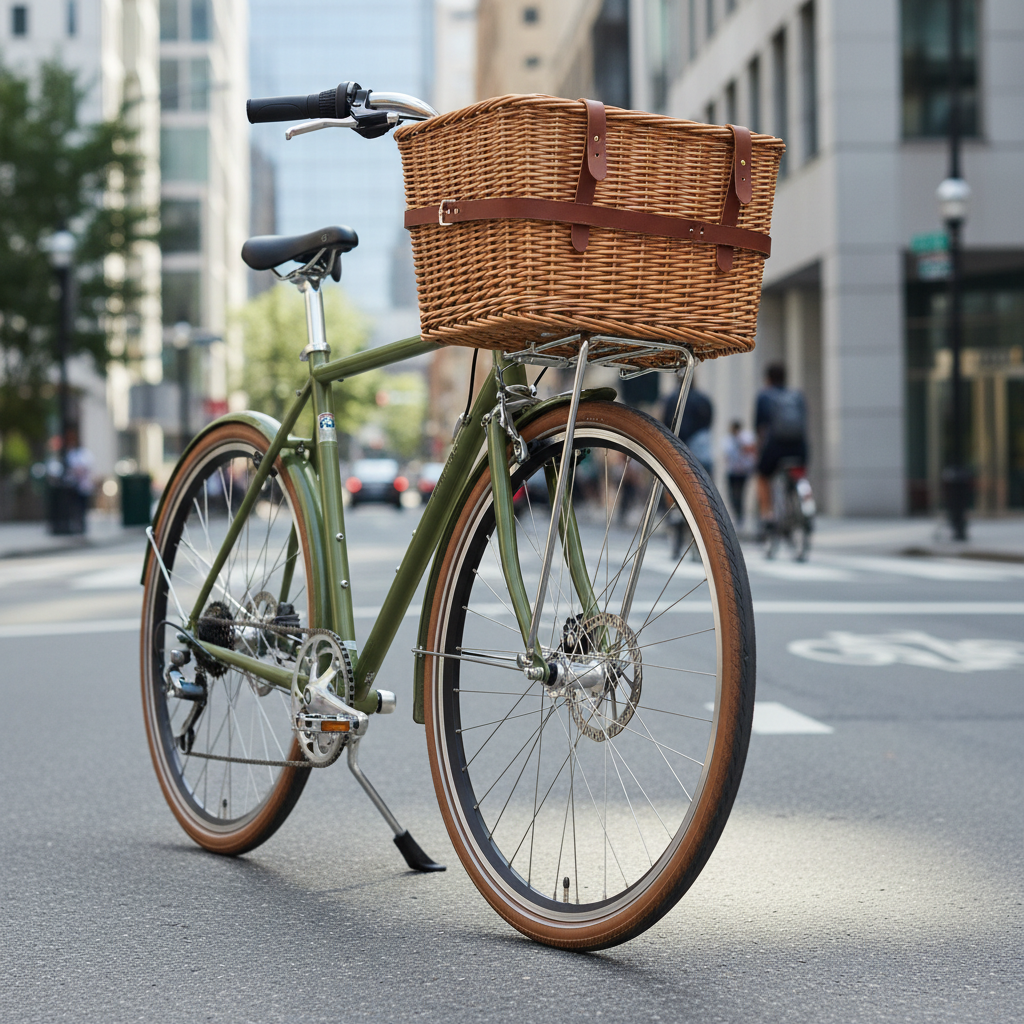
- Front rack-mounted: basket bolts to a front rack, usually the most stable for heavier loads.
- Fork-crown / axle-mounted rack: rack attaches at the fork crown and near the axle, spreads load well if the fork has eyelets.
- Rear rack-mounted: basket bolts or clamps to a rear rack, good for groceries, less impact on steering.
- Quick-release baskets: convenient, but depend heavily on a solid base mount and correct latch adjustment.
A quick compatibility reality check
- If you have no rack eyelets and a carbon fork, avoid improvised clamping on the fork legs unless the basket system explicitly supports it.
- If you carry 10+ lb frequently, a rack-mounted basket often feels calmer than a simple handlebar clamp.
- If you ride rough pavement, prioritize two-point support (rack + struts) over “single clamp” solutions.
Tools and hardware you will usually need
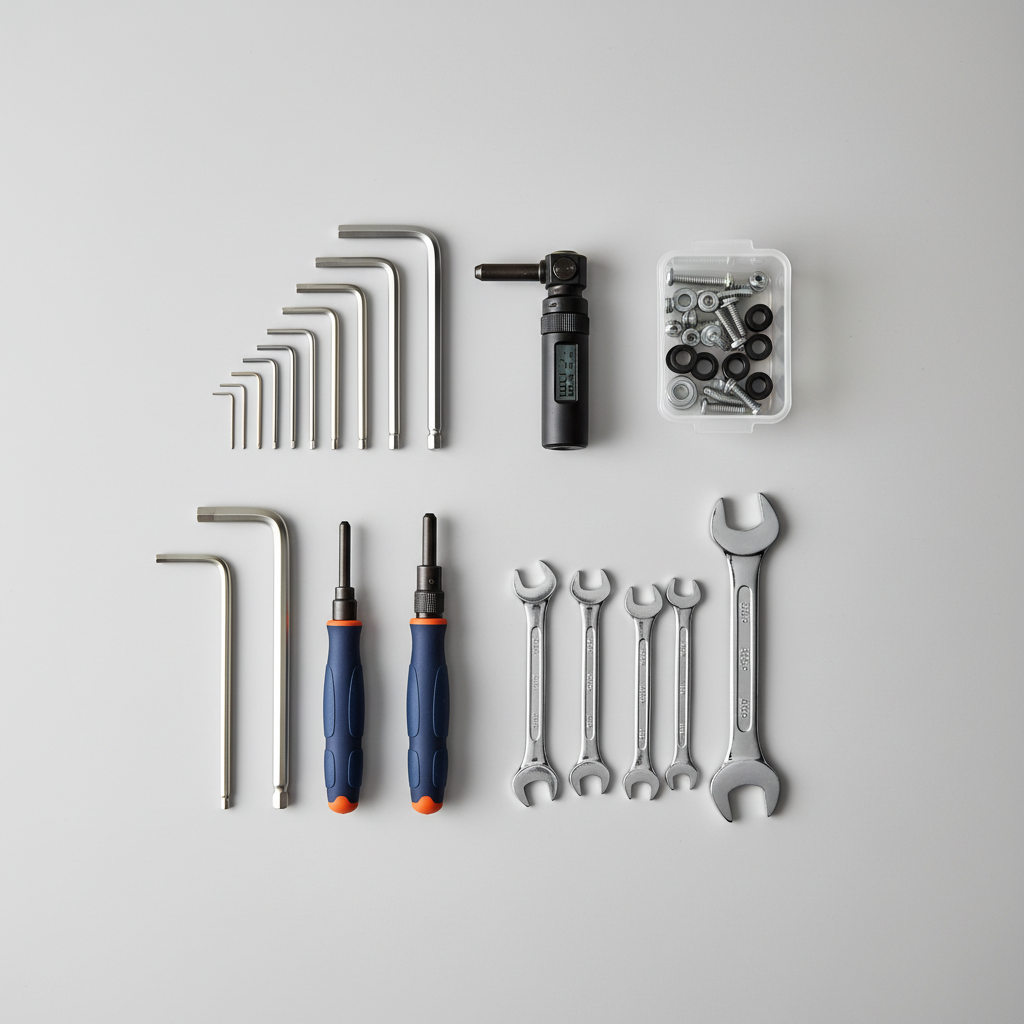
You can attach most baskets with basic tools, but having the right bits makes it much easier to tighten evenly and avoid stripping fasteners.
- Allen keys (commonly 4/5/6 mm) and/or a screwdriver depending on the kit
- Open-end wrench (often 8–13 mm)
- Torque wrench if you have one, especially on lightweight bars or stems
- Blue medium-strength threadlocker (optional, for bolts that loosen over time)
- Zip ties or rubber shims (only for tidy cable management or minor fit, not as the main “mount”)
According to Park Tool, using a torque wrench helps prevent overtightening and damage, especially on modern components with specified torque values.
Self-check: why your basket feels loose or unsafe
If you are trying to learn how to attach a bike basket securely because yours keeps shifting, run this checklist before reinstalling. It points you to the real cause fast.
- Mount points flex: handlebar clamp rotates when you push the basket side to side, often from under-tightened bolts or a smooth bar surface needing a shim.
- Wrong bolt length: bolt bottoms out before clamping the bracket, so it feels “tight” but is not.
- Missing washers/spacers: hardware stack is incomplete, letting parts settle after a few bumps.
- Rack not aligned: basket is fine, but the rack struts are slightly twisted, so bolts never seat evenly.
- Interference: basket or bracket touches brake cables, shifter housing, fender, headlight, or the tire at full steering lock.
- Load is too high/too far forward: even a tight basket can feel unstable if weight sits above the bars instead of lower on a rack.
Step-by-step: attach a front basket securely
how to attach a bike basket securely on the front varies by mount style, but the best installations share the same rhythm: align first, tighten gradually, then test under steering and braking.
A) Handlebar-mounted basket (clamp style)
- Center and level the basket with the front wheel straight, then lightly snug bolts so the clamp still allows micro-adjustments.
- Check cable clearance by turning the bars fully left and right; reroute cables if they snag or get kinked.
- Tighten in small increments, alternating bolts so the clamp closes evenly and does not “walk” to one side.
- Confirm the clamp does not rotate by pushing down and side-loading the basket with your hands.
If your bars are carbon or have a fragile finish, do not guess on tightness. Use the component’s torque guidance, or ask a shop to confirm safe clamp force.
B) Front rack-mounted basket (most stable for weight)
- Install or verify the front rack first, with all strut bolts started but not fully tightened.
- Set the basket on the rack deck and align bolt holes, then start all basket bolts by hand to avoid cross-threading.
- Tighten basket bolts until snug, then go back and tighten the rack mounting points at the fork crown and lower eyelets.
- Recheck alignment, then final-tighten everything in a consistent pattern.
A small detail that matters: if the rack deck is slightly bowed, add the included spacers so the basket base sits flat instead of bending as you tighten.
C) Quick-release front basket (base + latch)
- Mount the base plate square to the stem/handlebar, keeping it centered and level.
- Adjust the latch tension so the basket clicks in without forcing, but has no vertical play when locked.
- After a short test ride, recheck for settling; many systems need a small follow-up tightening.
Step-by-step: attach a rear basket securely
Rear baskets are usually calmer to ride with, but only if the rack interface is solid. A flimsy rack or loose deck bolts will still wobble.
A) Bolt-on basket to a rear rack
- Place the basket so weight sits over the rack legs, not hanging far behind the axle.
- Use wide washers or the included plates to spread clamping force across the rack deck.
- Start all bolts, then tighten gradually; confirm the basket base does not bow.
B) Clip-on or clamp-on rear basket
- Confirm the clamps match your rack tubing diameter; if not, you will chase looseness forever.
- Add rubber shims only if the manufacturer allows it, then tighten evenly.
- Shake-test by pulling the basket side to side; if the rack twists, the rack may be the weak link.
Load limits, balance, and riding feel (where “secure” becomes “safe”)
A basket can be tight and still feel sketchy if it is overloaded or top-heavy. Your bike will tell you quickly: heavy steering up front, tail wagging in the back, or braking that feels less controlled.
- Keep heavy items low: put dense items at the bottom of the basket, lighter items on top.
- Avoid tall stacks that catch wind or shift; use a cargo net if needed.
- Respect the rack/basket rating if it is provided, and remember the limiting factor might be the rack, not the basket.
According to the League of American Bicyclists, carrying cargo securely and keeping it from interfering with steering and braking is an important part of safe riding, especially in traffic.
Fast reference table: choose your mounting approach
If you are stuck between options, this table helps you pick a setup that tends to stay tight and ride well.
| Basket setup | Best for | Tradeoffs | Security tips |
|---|---|---|---|
| Handlebar-mounted | Light loads, short trips | Can affect steering, may slip on smooth bars | Alternate tightening, check rotation, mind cables |
| Front rack-mounted | Groceries, heavier cargo | More parts, more install time | Align rack first, use spacers, re-torque after rides |
| Quick-release front | On/off convenience | Latch can loosen, depends on base plate | Set latch tension, verify no play, inspect often |
| Rear rack-mounted | Stable commuting cargo | Can feel wide in tight spaces | Center over rack legs, use wide washers, prevent sway |
Common mistakes and small fixes that make a big difference
- Overtightening soft hardware: stripped bolts do not “hold tighter,” they hold less. Replace questionable bolts before they fail.
- Skipping a re-tighten: after 1–3 rides, hardware can settle. A quick check often stops months of rattling.
- Ignoring rub points: even slight tire or cable contact can become dangerous. Fix interference before carrying weight.
- Using zip ties as structure: zip ties help tidy, but they should not be the main load-bearing attachment.
- Mounting too far forward: when the basket sits ahead of the steering axis, it amplifies wobble; reposition if your mount allows.
When to get help from a bike shop
If you can’t get the basket stable after careful tightening, it usually means a compatibility issue or a component that should not be clamped. Consider a shop visit when:
- Your fork, handlebars, or stem are carbon and you do not have torque specs.
- The basket mount requires spacers or adapters you are unsure about.
- Your rack eyelets are missing, damaged, or misaligned, and you are tempted to improvise.
- You notice cracks, creaking that persists, or hardware that keeps loosening even with correct installation.
For safety, if the basket affects braking feel or steering control, it is wise to stop riding loaded and ask a qualified mechanic to inspect the setup.
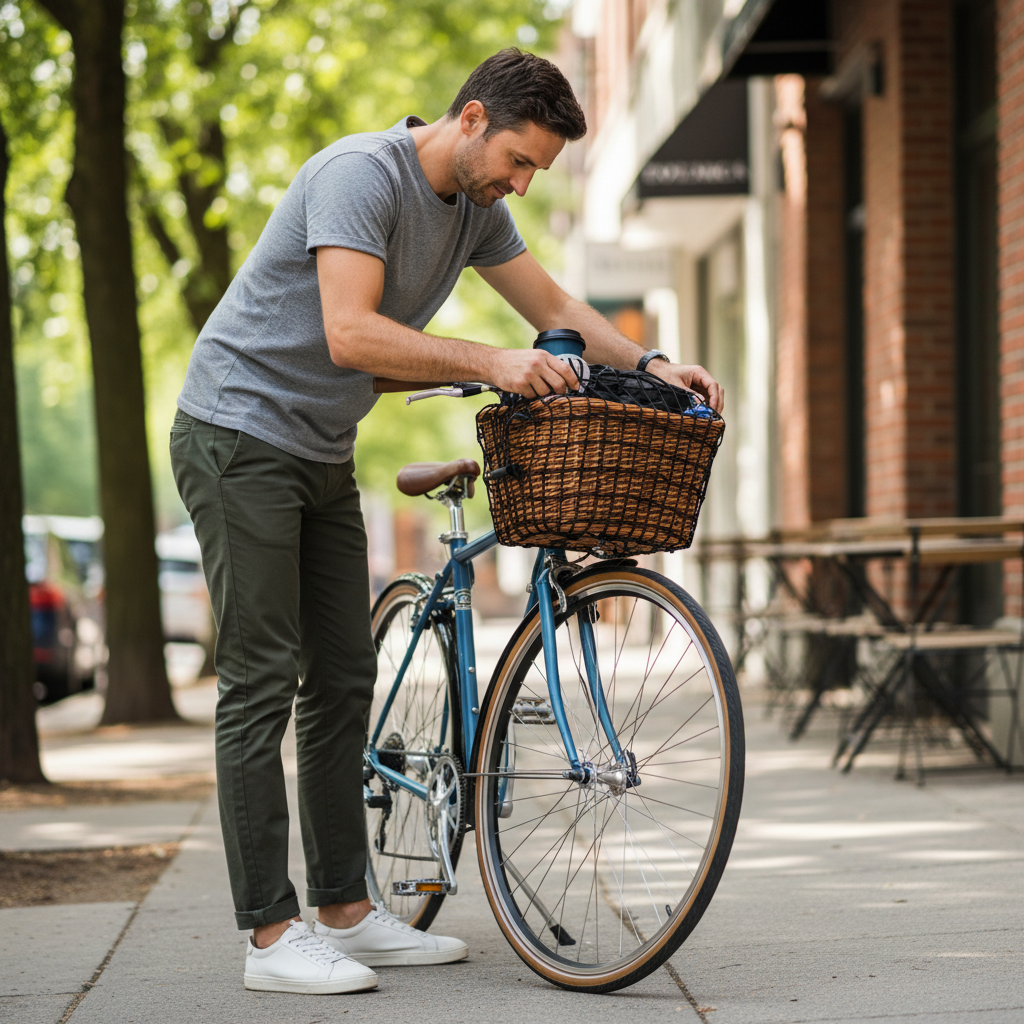
Practical “secure install” test before you carry real cargo
After you think you are done, do a 2-minute test. This is where most people realize the basket is “tight” but not truly stable.
- Static shake: grab the basket and push side to side, then up and down, watching the clamp or rack joints.
- Steering lock test: turn bars fully both directions to confirm no tire, cable, or headlight interference.
- Short ride test: ride around the block, brake firmly once or twice, then recheck bolt tightness.
Key takeaways: match the mount to your bike, tighten evenly, confirm clearance at full steering lock, and recheck after a few rides. That is the most reliable path to a basket that stays quiet and predictable.
Conclusion: a secure basket should feel boring
how to attach a bike basket securely is less about brute force and more about fit, alignment, and verification. When it is right, you stop thinking about it, no wobble, no rub, and no surprise shifts when the road gets rough.
If you want a simple next step, do this today: unload the basket, loosen the hardware, realign it square to the bike, then tighten gradually and run the steering lock test. If anything still feels off, switching to a rack-supported system often fixes the problem faster than chasing clamp tension.