
how to ride a mountain bike downhill comes down to one thing: staying in control while the trail tries to pull you forward, faster than your brain feels comfortable with.
If you’ve ever felt your arms lock up, your brakes overheat, or your front wheel “hunt” for grip, you’re not alone. Downhill riding looks smooth from the sidelines, but it’s a mix of technique, timing, and a bike setup that matches the terrain.
This guide focuses on what actually changes your ride tomorrow: body position, braking habits, line choice, and a quick pre-ride setup. You’ll also get a short checklist to diagnose what’s holding you back and a practical table you can use on the trail.
Start with safety basics that make every downhill easier
Before technique, a quick reality check: many downhill crashes come from small preventable issues, not “sending it.” If you’re unsure about your bike’s condition or your health, it’s worth asking a local shop or qualified coach.
- Helmet: A well-fitted helmet is non-negotiable. Full-face may make sense on bike-park style terrain.
- Gloves and eye protection: Better grip, fewer hand blisters, and you can actually see through dust and branches.
- Brake and tire check: Squeeze levers, look for pad life, and confirm tires hold pressure.
- Suspension quick check: No obvious oil leaks, and sag roughly in range.
According to IMBA (International Mountain Bicycling Association), responsible riding includes staying within your ability level and keeping equipment in safe working condition. That sounds obvious, but it’s usually the difference between “fun challenge” and “unplanned hospital visit.”
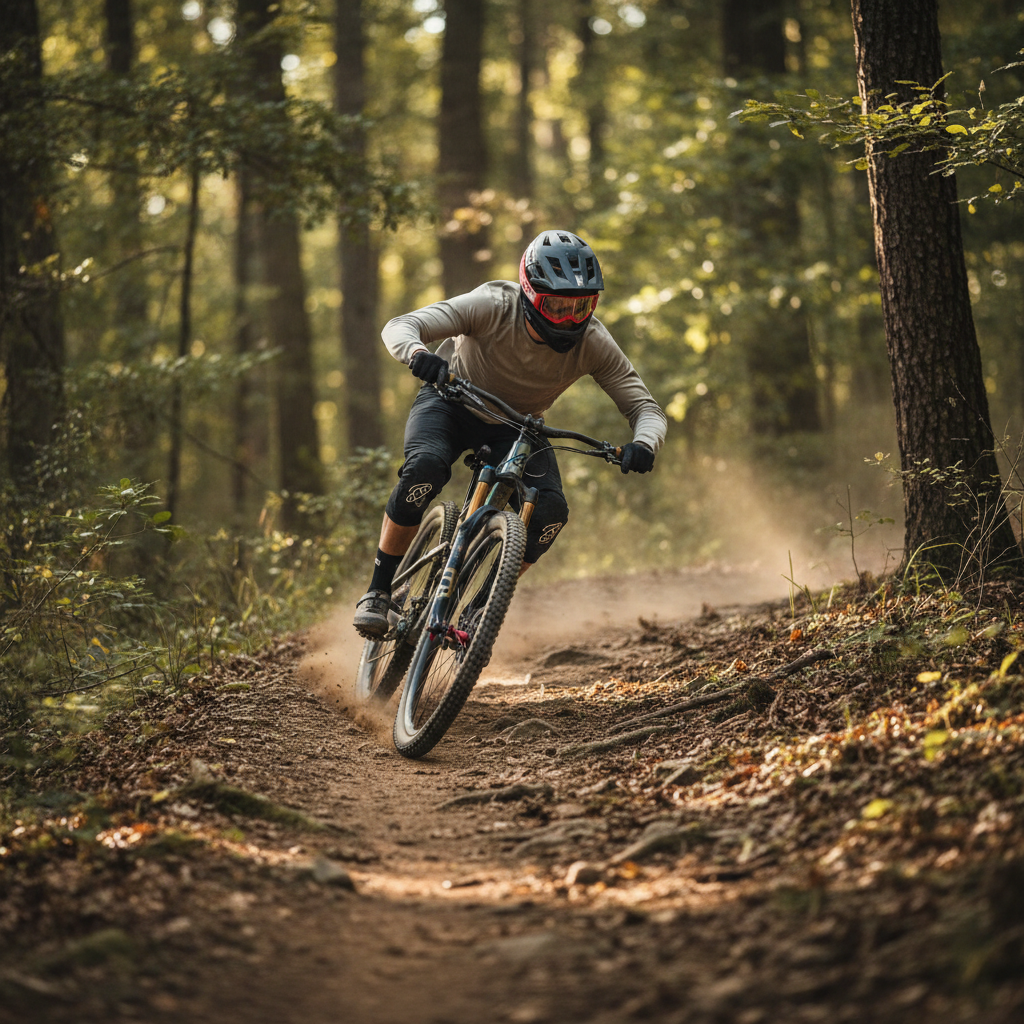
Dial in body position: stability without feeling like you’re falling
If you only fix one thing, fix this. On steep descents, riders often get too far back and too stiff, then the front wheel loses guidance and the bike feels unpredictable.
Use the “neutral attack” as your default
- Feet: Level pedals, heels slightly dropped for stability.
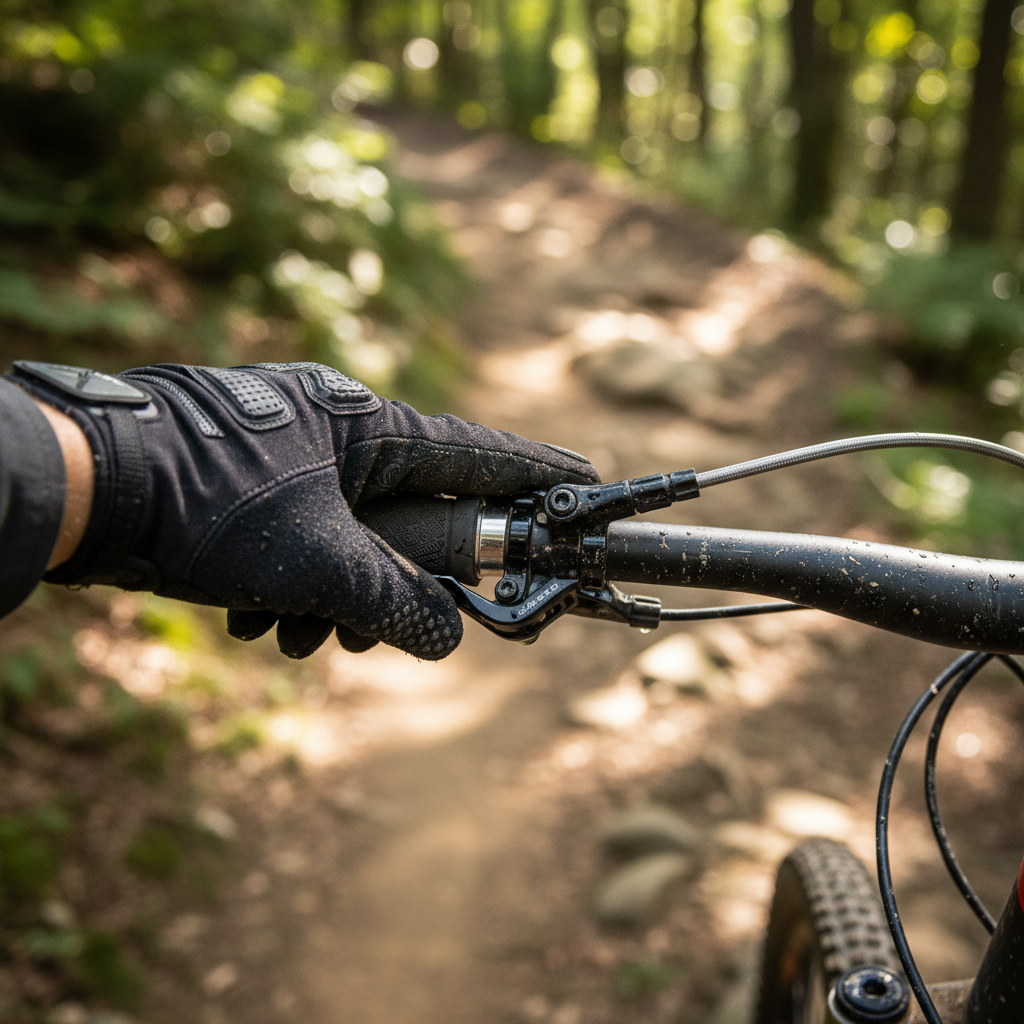
- Hands: Light grip, index finger ready on each brake lever (many riders prefer 1-finger braking).
- Elbows: Out and soft, like you’re making space for the bike to move.
- Hips: Back a bit on steep pitches, but not so far that your arms straighten completely.
- Chest: Low enough to stay balanced, high enough to breathe and see.
Think “heavy feet, light hands.” If your hands go numb or your forearms pump up quickly, you’re probably supporting your weight with your upper body instead of your legs.
Braking technique: slow the bike, not your confidence
Most people learning how to ride a mountain bike downhill over-brake at the worst times: mid-corner, on loose marbles, or right as the front tire hits a root. The bike reacts, traction drops, panic increases.
Use “brake early, release into traction”
- Do your major slowing before the corner, while the bike is more upright.
- Ease off as you turn, so tires can focus on turning rather than stopping.
- Separate events: brake, then turn, then accelerate when you can see the exit.
Balance front and rear without guessing
On most modern mountain bikes, the front brake does a lot of the work because weight shifts forward on descents. Too much rear brake causes skids and longer stopping distances; too much front brake at the wrong time can wash the front tire. The sweet spot varies by surface.
- Steep and grippy: you can typically use more front brake, as long as your body stays balanced.
- Loose and dusty: gentler braking, longer distances, more emphasis on smooth release.
- Wet roots/rocks: brake on dirt patches when possible, then “float” over slick features.
According to NHTSA, helmets reduce the risk of head injury in bicycle crashes; that’s road-focused guidance, but the core point applies off-road too. Downhill has higher consequence, so protective choices matter.
Line choice: where you point the bike matters more than you think
Downhill speed feels scary when you don’t know where traction lives. Good line choice often means choosing predictability over the “straightest” route.
Look farther ahead than feels natural
- Eyes up: scan 2–3 seconds ahead, not at your front tire.
- Use your peripheral vision for the near trail, save focus for the next decision.
- Commit to a line once you pick it, tiny last-second swerves usually make things worse.
Find traction clues
- Dark, packed dirt is often more consistent than pale, dusty patches.
- Small “berms” or natural banks can support cornering if you enter with control.
- Avoid braking bumps when you can, or stay loose and let the bike track through.
Cornering downhill: turn with your legs, not your shoulders
Many riders try to “steer” corners with the bars while braking hard, then wonder why the front washes. A better goal is to keep tires loaded evenly and let the bike lean.
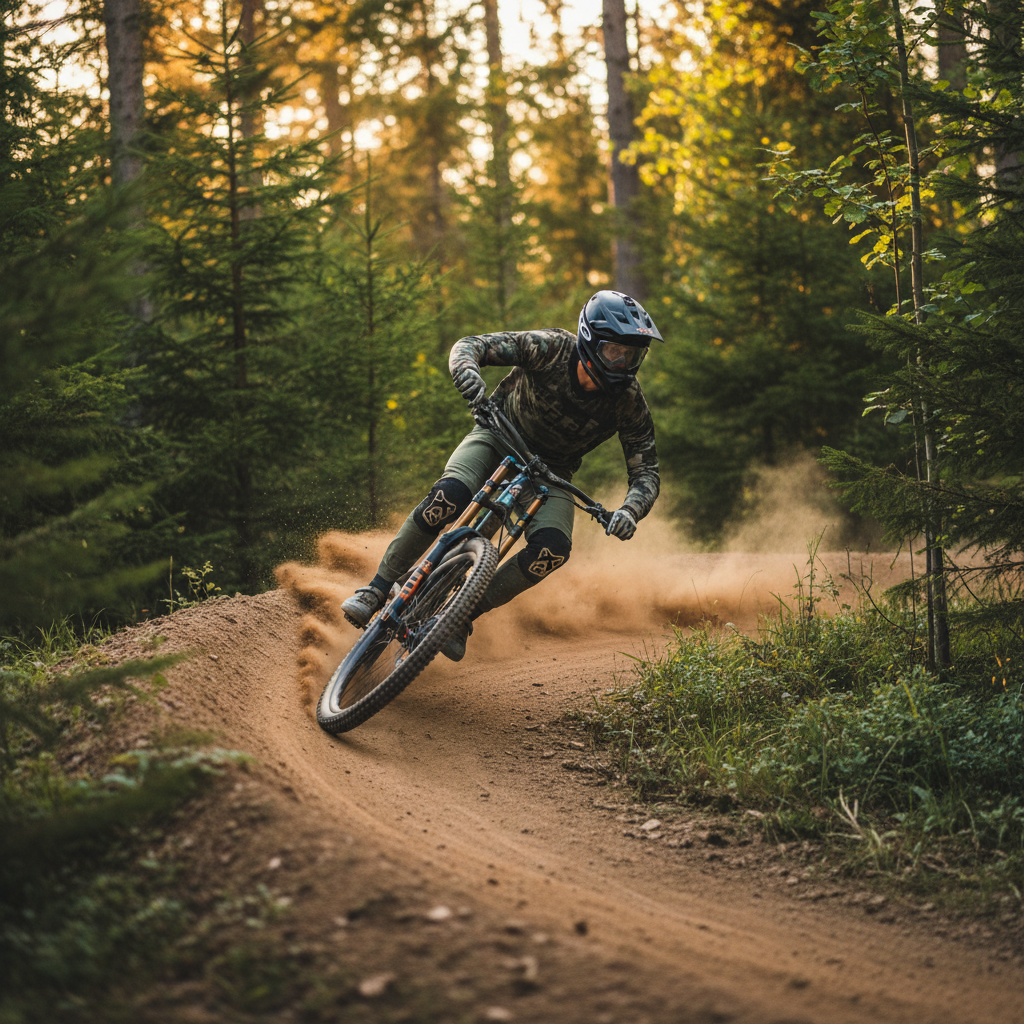
Simple cornering cues that usually work
- Outside foot heavy through the turn, inside knee slightly open for balance.
- Lean the bike more than your body, especially on flatter corners.
- Finish braking before the apex, then smoothly drive out when traction returns.
If your tires slide every corner, don’t assume it’s “bad tires” immediately. Often it’s late braking, stiff arms, or looking at the exit too late.
Quick setup checks: small tweaks that change the ride
You can learn how to ride a mountain bike downhill faster with perfect technique, but a few setup mistakes will keep you fighting the bike. This is the low-effort, high-return section.
Downhill-ready setup checklist
- Tire pressure: too high bounces and loses grip, too low risks rim strikes; adjust by feel and terrain.
- Tread choice: chunkier front tire often boosts confidence more than changing the rear.
- Brake levers: angle them so your wrists stay neutral when standing in attack position.
- Suspension sag: if it’s too stiff you ping off everything, too soft and you blow through travel; check manufacturer guidance.
Common symptom-to-fix table
| What you feel downhill | Likely cause | What to try next ride |
|---|---|---|
| Front wheel feels sketchy in corners | Looking down, stiff arms, braking in the turn | Eyes up, elbows soft, brake earlier and release |
| Rear wheel skids a lot | Too much rear brake, weight too far back | More balanced braking, heavy feet, stay centered |
| Hands/forearms blow up quickly | Death grip, supporting weight on bars | Relax grip, hinge at hips, let legs absorb impacts |
| Bike feels like it bounces off rocks/roots | Tire pressure high or suspension too firm | Lower pressure slightly, check sag and rebound |
Practice plan: 30 minutes that builds real downhill skill
The fastest way to improve is controlled repetition on a short section of trail where you can stop and reset. Keep it boring on purpose, that’s where progress lives.
- Braking drill: pick a gentle slope, practice “brake hard, release smooth” without skidding.
- Look-ahead drill: ride a familiar segment while forcing your eyes to the next landmark, not the front tire.
- Corner reset: do the same corner 5–8 times, adjust only one thing each run.
- Feature choice: roll one rooty patch slowly, then slightly faster, keeping hands light.
When you feel fatigue or sloppiness, stop. Skill work under exhaustion can teach bad habits, and downhill mistakes can cost more than bruised ego.
When to get coaching or professional help
If you regularly ride steep terrain and still feel stuck, a lesson can compress months of trial-and-error into one afternoon. It’s also a good idea when you’ve had a crash and your confidence feels “wired wrong,” because fear changes posture and braking automatically.
- Consider a skills clinic if you’re avoiding descents, grabbing brakes in corners, or crashing on the same feature repeatedly.
- See a bike shop if brakes fade, suspension feels inconsistent, or you suspect a mechanical issue.
- Consult a medical professional if you have lingering pain, concussion concerns, or dizziness after a fall.
Key takeaways and next steps
Learning how to ride a mountain bike downhill is less about bravery and more about repeatable habits: neutral attack position, braking before corners, eyes up, and a setup that supports traction. The win is feeling calm at speed, not just going faster.
Pick one descent this week and focus on one change, maybe earlier braking or lighter hands, then repeat it until it feels automatic. If you want a quick confidence boost, check tire pressure and lever angle before you drop in, those two tweaks often show up immediately.