
how to install a bike flag on bike usually comes down to one thing, getting a stable mount point that won’t twist loose once you hit bumps or wind.
If your flag leans, slips, or rattles, it does more than look sloppy, it can reduce visibility and distract you while riding. A clean install keeps the pole upright and the flag readable from farther away.
One quick note before you start: bike flags are not all interchangeable. A kids trailer flag, a recumbent flag, and a mobility flag can use different mounts, so the “right” method depends on where you want it and what hardware you have.
Pick the right mount location (what works in real riding)
Most riders place a flag at the rear because it stays in drivers’ line of sight and doesn’t interfere with steering. The trick is choosing a spot that stays rigid under vibration.
- Rear axle area: Very stable when the kit includes an axle/bracket mount, common on kids bikes and trailers.
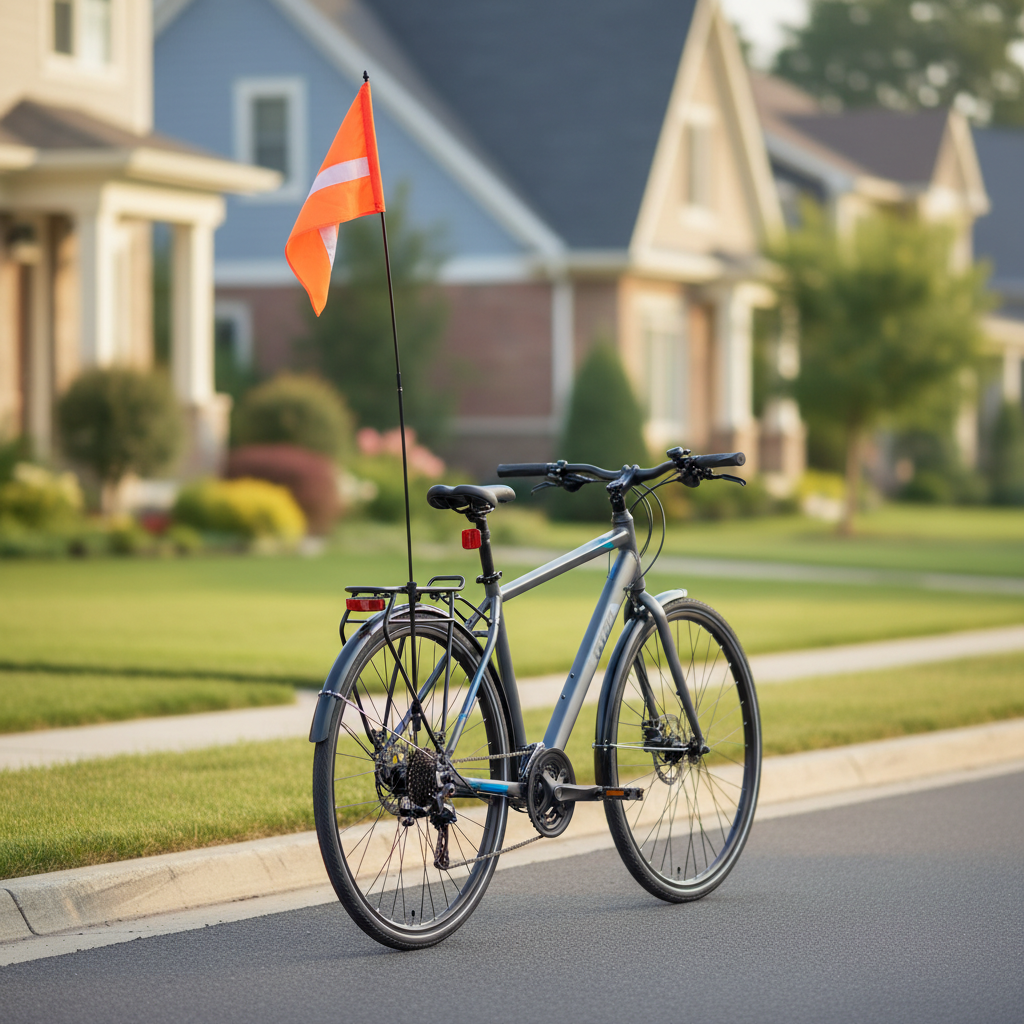
- Seatpost: Convenient on adult bikes, especially if your kit uses a clamp mount. Works best with enough exposed seatpost.
- Rear rack: Great if you already run a rack and the kit has a bolt-on plate, typically the most “set and forget” option.
- Trailer hitch area: Popular for family setups, but you want to avoid blocking the hitch mechanism or pin.
Many installs go wrong because the mount point flexes, not because the flag is “bad.” If the pole sits on a wiggly fender bracket, it will wander and loosen.
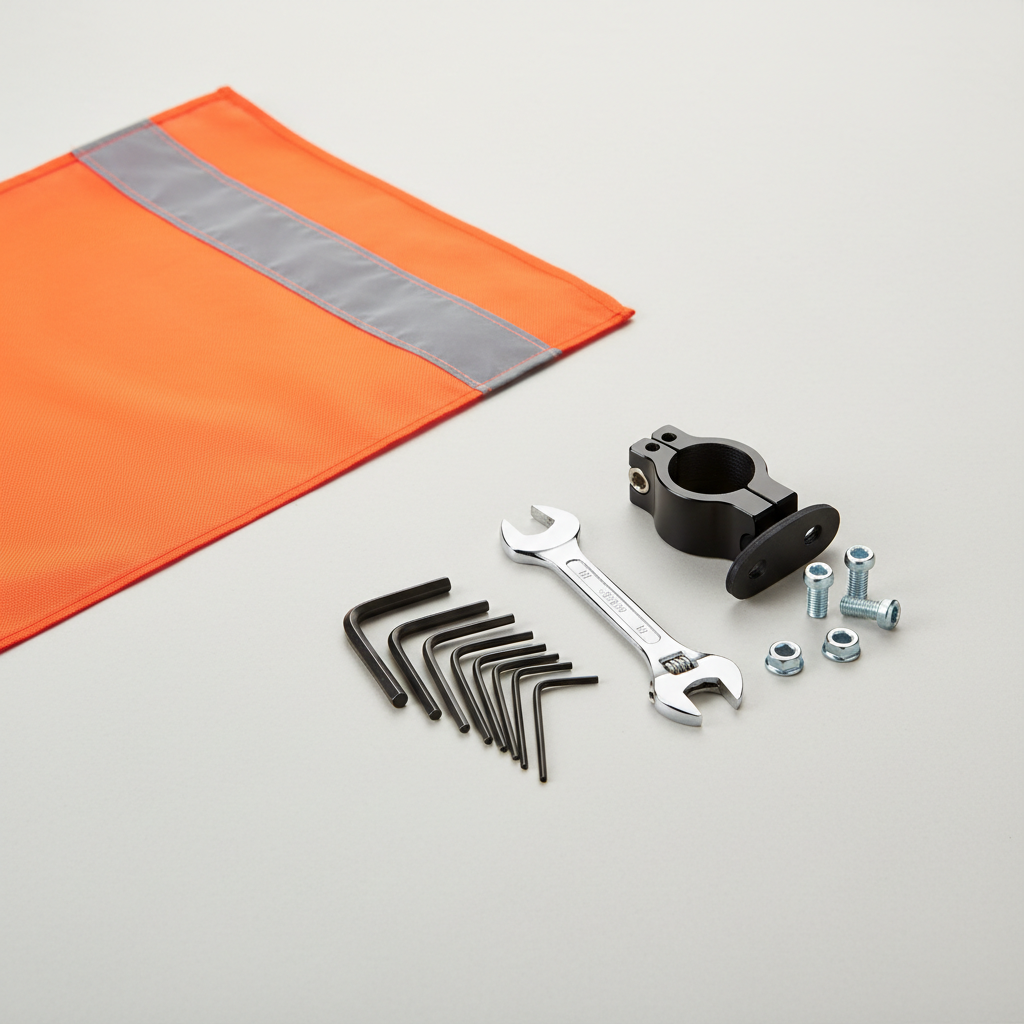
Know what kind of flag kit you have (so you don’t fight it)
Before tools, identify the mounting style, because how to install a bike flag on bike changes a lot between these.
| Mount type | Common on | What you’ll need | Typical issue |
|---|---|---|---|
| Clamp mount (seatpost/frame) | Adult bikes, some kids bikes | Allen key or screwdriver | Clamp slips on smooth tubing |
| Axle/bracket mount | Kids bikes, trailers, mobility setups | Wrench, correct washers/spacers | Bracket angle puts pole into spokes |
| Bolt-on rack/plate mount | Bikes with rear racks | Allen key, sometimes longer bolts | Loose hardware from vibration |
| Quick-release socket | Some family/trailer flags | None or light tools | Socket wears, pole rocks over time |
If your kit includes a fiberglass pole, handle it gently. It’s tough, but splintering can happen if it’s forced into a tight socket at an angle.
Quick self-check: is your bike ready for a stable install?
This is the fast way to avoid a “mount it twice” afternoon. If you answer “no” to any of these, adjust your plan before you tighten anything.
- Can the pole sit clear of the wheel, spokes, and disc rotor through a full wheel rotation?
- Is there a rigid tube or rack leg where the clamp/bracket won’t flex?
- Will the flag clear your heel when you pedal and your leg when you stand?
- Can you route the pole so it won’t rub a brake hose or shifter cable?
- Do you have enough insertion depth into the mount so the pole won’t wobble?
According to NHTSA, being more visible helps drivers notice cyclists sooner, and visibility gear is a practical part of a broader safety setup. A flag doesn’t replace lights or safe road positioning, but it can add a high, moving reference point that’s hard to miss.
Step-by-step: how to install a bike flag on bike (by mount style)
Option A: Seatpost or frame clamp mount
This is the most common adult-bike setup and usually the quickest.
- Wipe the tube where the clamp will sit, grit under the clamp can cause slipping and scratches.
- Place the clamp high enough that the pole clears the rear wheel and doesn’t hit the rack or saddle bag.
- Align the pole so it stands vertical when the bike is upright, then tighten evenly.
- If the clamp creeps on smooth metal, add a thin rubber shim (many kits include one), then retighten.
Good enough test: grab the pole near the mount and push side-to-side, you should see the tire flex before the clamp rotates.
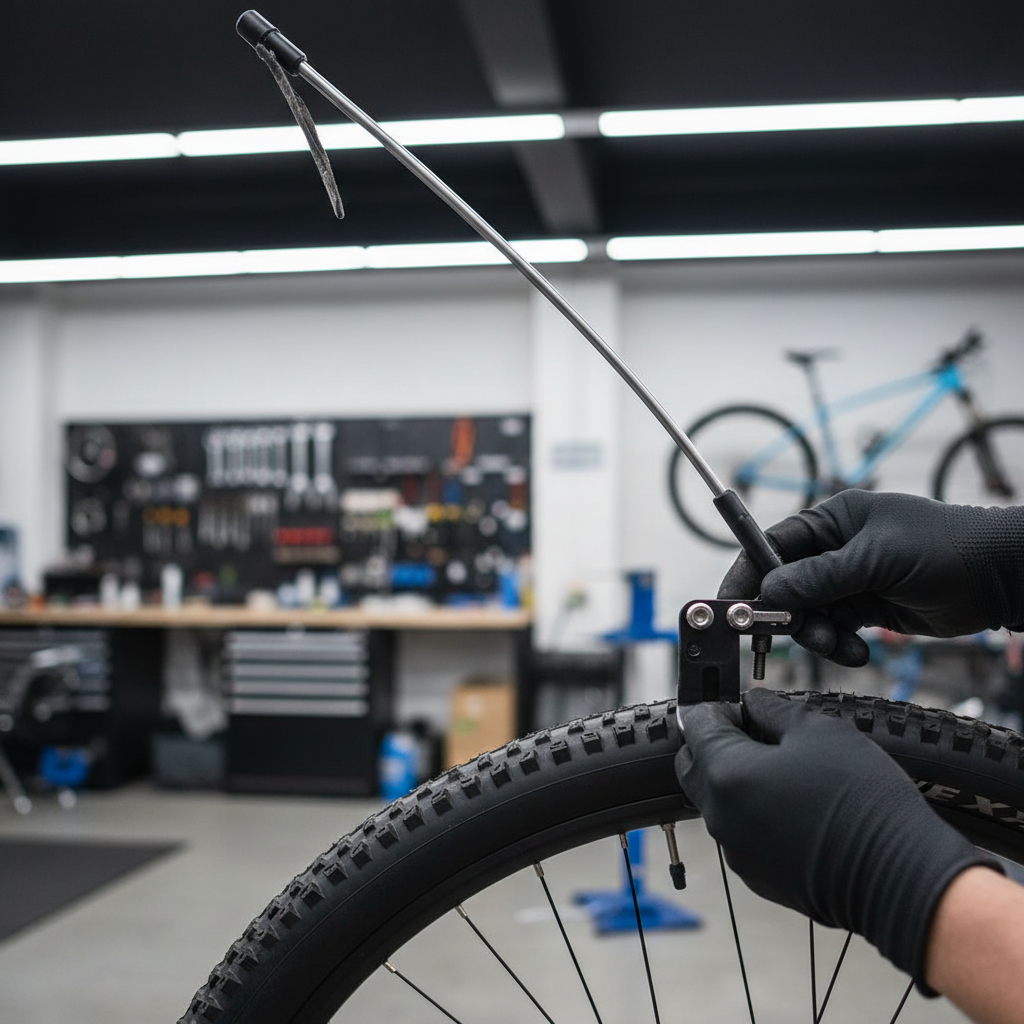
Option B: Rear axle/bracket mount (dropout area)
This mount stays solid, but you must be picky about angle and spacing.
- Support the bike so it won’t tip, then loosen the axle nut or quick-release as needed.
- Fit the bracket so the pole socket points up and slightly back, never toward the spokes.
- Reinstall washers/spacers in the same order unless your kit specifies otherwise.
- Tighten to a firm, manufacturer-appropriate torque. If you’re unsure, a bike shop can confirm.
If you run disc brakes, double-check the bracket doesn’t crowd the rotor. Even light contact can cause noise and inconsistent braking.
Option C: Rear rack bolt-on mount
This is the calmest install if your rack has the right holes.
- Pick a mounting hole that keeps the pole away from pannier bags and heel strike.
- Use threadlocker only if your rack maker allows it, otherwise rely on lock washers or nylon-lock nuts.
- Tighten, then recheck after your first ride, rack hardware can settle.
Dial in height, angle, and tension (the part people skip)
A flag that’s too low can hide behind cars, a flag that’s too tall can whip hard in wind and fatigue the mount. Many kits perform well when the top sits several feet above the rider’s head on smaller bikes, but your environment matters.
- Angle: vertical or slightly rearward tends to flutter cleanly and reduces pole “whip.”
- Height: prioritize visibility over aesthetics, but avoid tree branches and garage doors on your route.
- Tension: tighten until the mount doesn’t rotate by hand, then stop. Over-tightening can crack plastic clamps.
If you ride in strong crosswinds, consider a thicker pole or a stiffer mount point. This is where “it worked in the driveway” can fail on the road.
Common mistakes (and how to fix them fast)
- Pole leans left or right: mount surface is uneven or clamp tightened unevenly, loosen, realign, tighten in small increments.
- Flag droops: fabric sleeve twisted or pole sections not fully seated, remove and reinsert until you feel the stop.
- Mount slips down the seatpost: add a rubber shim, move to a more textured section, or switch to a rack mount.
- Rattling: add a thin wrap of tape at the pole insertion point, or replace a worn socket if it has play.
- Interference with braking/drive train: relocate immediately, any rubbing near a wheel is not a “ride it and see” situation.
One more reality check, if you’re trying to mount on a carbon seatpost or a very lightweight race frame, be conservative with clamping force. If your bike manufacturer has torque guidance, follow it.
Safety, legality, and when to get help
According to CPSC, bicycles and bicycle equipment should be used as intended and maintained in safe working condition. If your install affects brakes, wheels, or steering, it’s worth slowing down and doing it right.
- Visibility basics still matter: a flag pairs well with front and rear lights and reflectors, not a replacement.
- Local rules vary: some areas have specific requirements for trailers or mobility devices, if you’re unsure, check state or city guidance.
- After-ride check: re-tighten after 15–30 minutes of riding, then check weekly if you ride often.
Consider a bike shop or qualified mechanic if the mount requires removing drivetrain or brake parts, if you can’t keep the pole clear of the wheel, or if you see any cracking around a clamp area. In those situations, guessing can get expensive or unsafe.
Key takeaways and a simple next step
If you want a flag that stays upright, focus on a rigid mount point, confirm wheel and heel clearance, and tighten only as much as needed for a no-rotation fit. Do a short test ride, then recheck hardware, that’s usually where a clean install becomes a reliable one.
If you’re installing a flag for a child’s bike or a trailer, take five extra minutes to verify nothing can reach spokes, rotors, or the hitch, then make that first ride a slow loop close to home so you can listen for rub or rattle.
FAQ
How high should a bike flag be?
High enough to sit above typical car sight lines and parked-car roofs in your area, but not so high it constantly hits branches or garage doors. Many riders aim for a clearly visible flutter above head height.
Can I put a bike flag on a mountain bike with a dropper post?
Yes, but a seatpost clamp can interfere with dropper travel. A rear rack mount or axle-style bracket often avoids that problem, as long as you keep good wheel clearance.
Why does my bike flag keep leaning backward?
Usually the socket angle points rearward too aggressively, or the pole isn’t fully seated. Re-seat the pole, then adjust the bracket so the pole stands closer to vertical.
Is it okay to zip-tie a bike flag to the frame?
Zip ties can work as a temporary solution, but they often loosen, and the pole can rotate into a wheel. If you use ties, add a rigid backing point and check frequently, a purpose-built mount is typically more stable.
How do I stop the clamp from scratching my bike?
Clean the tube first, then use a rubber shim or protective tape under the clamp. Avoid gritty tape or anything that traps dirt, that’s where most cosmetic damage comes from.
Can a bike flag be mounted on the front of a bike?
Sometimes, but front mounting can interfere with steering and cables, and it may be more distracting in your peripheral vision. Rear mounting tends to be simpler and more predictable.
What if my bike flag pole is too long?
Some poles are designed to be trimmed, others are not. Check the kit instructions first, and if it’s fiberglass, cutting can splinter without the right method, a shop can help if you’re unsure.
If you’re trying to install a flag on an unusual setup like a cargo bike, a recumbent, or a trailer plus rack combo, it can be easier to choose a mount system that matches your hardware from the start, rather than forcing a clamp to fit where it barely holds.